After my camera was stolen in America, I bought an iPhone and have just used that as my travel camera since. If you’ve read about me, you’ll know that travel photography is one of the main reasons I travel – I love documenting new places and people. If I’m honest there’s no way that it compares to the quality of my SLR, but I don’t think you need an SLR to take great photos. The best thing about having an iPhone with such a good quality camera is that it’s always with you, so you can easily take it out of your pocket and shoot.
I do miss the confidence I felt when I took out my big, bulky SLR because in a way it signaled to people that I was serious about taking photos, and so often locals would come up to my camera and ask for a picture. But, in contrast the iPhone is discrete so you can take photos without people noticing too easily. The biggest drawcard is certainly that it fits in my pocket, my SLR could never do that. At the moment I’m still getting more comfortable with my iPhone 4S, but I’m learning the ropes and almost at a stage where I can take photos I’m really happy with.


Tips For Taking Great Photos On Your iPhone
Composition is really key! I think some people get a little “snap happy” with their iPhones and don’t really put in the effort to ensure that there’s good composition. That’s fine, I mean, everyone has the right to take photos how they please, but I think if you start actively considering your composition when you take photos, you’ll notice a huge improvement in the quality and usability of your pictures. Cropping after the fact will always result in a lower quality image, so try to get it right when you’re looking at the image on screen.
Focus properly on the particular part of the photo you want to be in focus. This has an added bonus, that not only will the camera focus on that part, but it will adjust the exposure of the image in order to properly or best expose that part of the frame. This is particularly important when you consider images where you might have a dark foreground or object and a bright background. Make sure that you’re focusing on the part of the picture you want to be best exposed!
Turn HDR on in the settings. I’m not a huge fan of taking HDR images normally, but I find that the HDR on the iPhone is pretty subtle and just helps eliminate parts of the image being really under or over exposed. You can adjust this in your camera settings so that it will automatically save both the original image and the HDR image. The other issue with taking images in HDR is that it takes a few seconds longer for your phone to process – this isn’t a huge problem, but can stop you from taking multiple images really close together.
Turn off your flash when you don’t need it, otherwise it might sneak up on the photo and make things look horrible and unnatural. There are times where the flash will be a lifesaver, but most of the time you don’t need it on, so turn it off.
Keep the camera steady, this is especially important when you’re trying to take night shots. If you’re trying to get the exposure of some gorgeous lights right at night time, try leaning on something, whether a ledge or a railing, just in order to give yourself that extra stability – it will really make all the difference. This proves true for photos where you are trying to photograph something that is moving, if you’re moving too it’s gonna end up being a photographic disaster. Steady on!
Zoom with your feet. I know that the iPhone has a built in zoom function, but it is TERRIBLE. It degrades the image quality so much, that if you want to do anything other than view it on your phone’s screen, you’ll be disappointed. Pretend you’ve got a prime (fixed) lens on your camera and take the challenge of physically “zooming” in all of your shots.
The most important thing to do is be realistic of the camera’s limitations. It’s really great for a phone camera, but it doesn’t compare to a professional camera. Be aware of this, and then get over it. When I first got my iPhone I kept joking that “it’s no 5d mark ii” which is true, but it also didn’t cost half as much as one and it’s main purpose is a phone. Once I got over the comparisons, I found myself a lot more excited to use it as a camera and as such my images improved.
Best Photography Aps
Camera+ – this is great ap for taking photos. You can edit photos within the program, or you can move photos you’ve already taken on the standard camera ap to Camera+ to edit them. It’s usual price is $1.99 but at the moment it’s on sale for $0.99 – I really like it and think it’s money well spent if you want a little more freedom in your photography.
Instagram – one of the most popular photography aps and totally free – yupee! You can sign up for an intagram account and share your photos. I like instagram as it has a lot of fun filters, but it crops all of the images you take into a square and degrades the quality a bit. In that regard, I prefer Camera+
just.SelfTimer – this is a free ap that does exactly what the name suggests, it’s a self timer. Handy for those moments when you want to be in the photo too. You can set the timer to a range of times, 3,5 or 10 seconds.
What’s your favourite iPhone photography ap? Do you have any tips to share? Post them here!

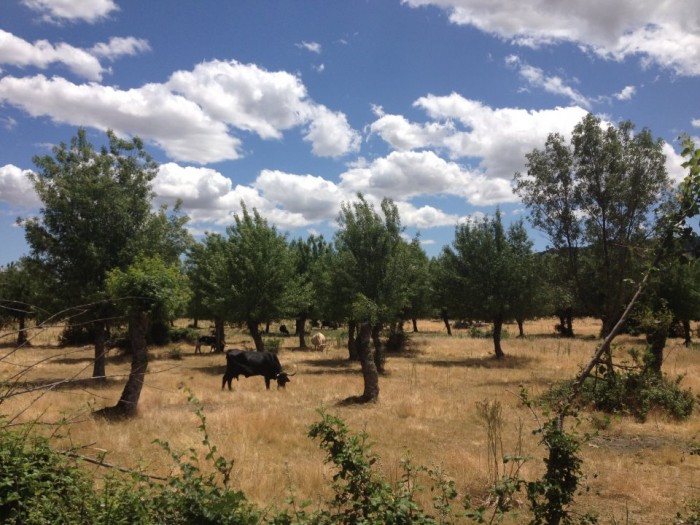
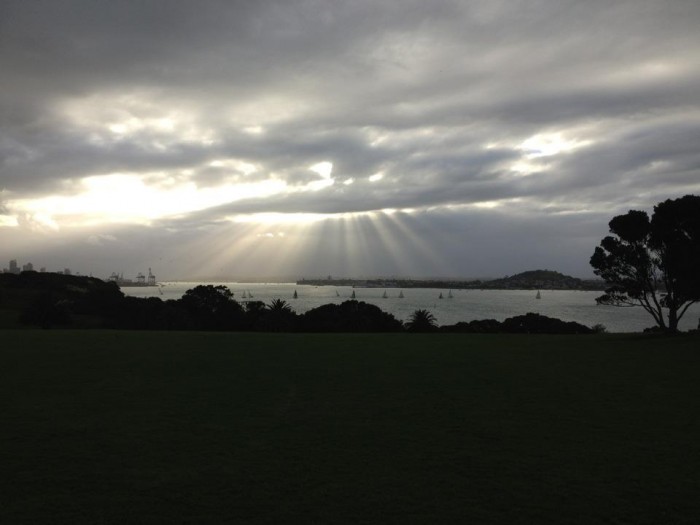
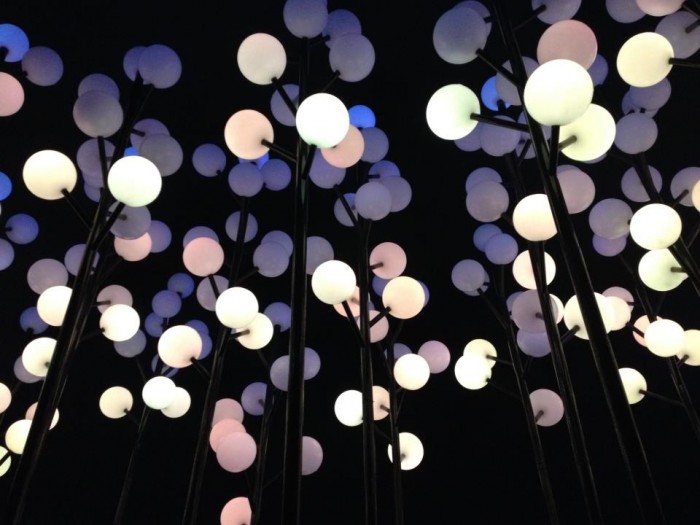
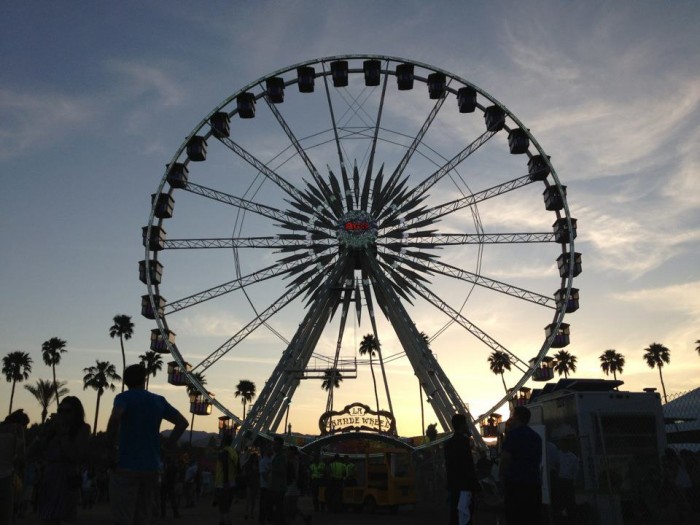


Hey Izy, hope you’re loving Madrid! Did you take all of these photos with your iphone? The one of the lights is gorgeous.
My other fav apps are phonto, that lets you write on your photos, and F. maker hd (frame maker) that creates a sort of grid so you can combine photos together. Examples of both are on my blog.
Can’t wait to see you next time…whenever that will be 🙂
x